Vendors
Vendor Search
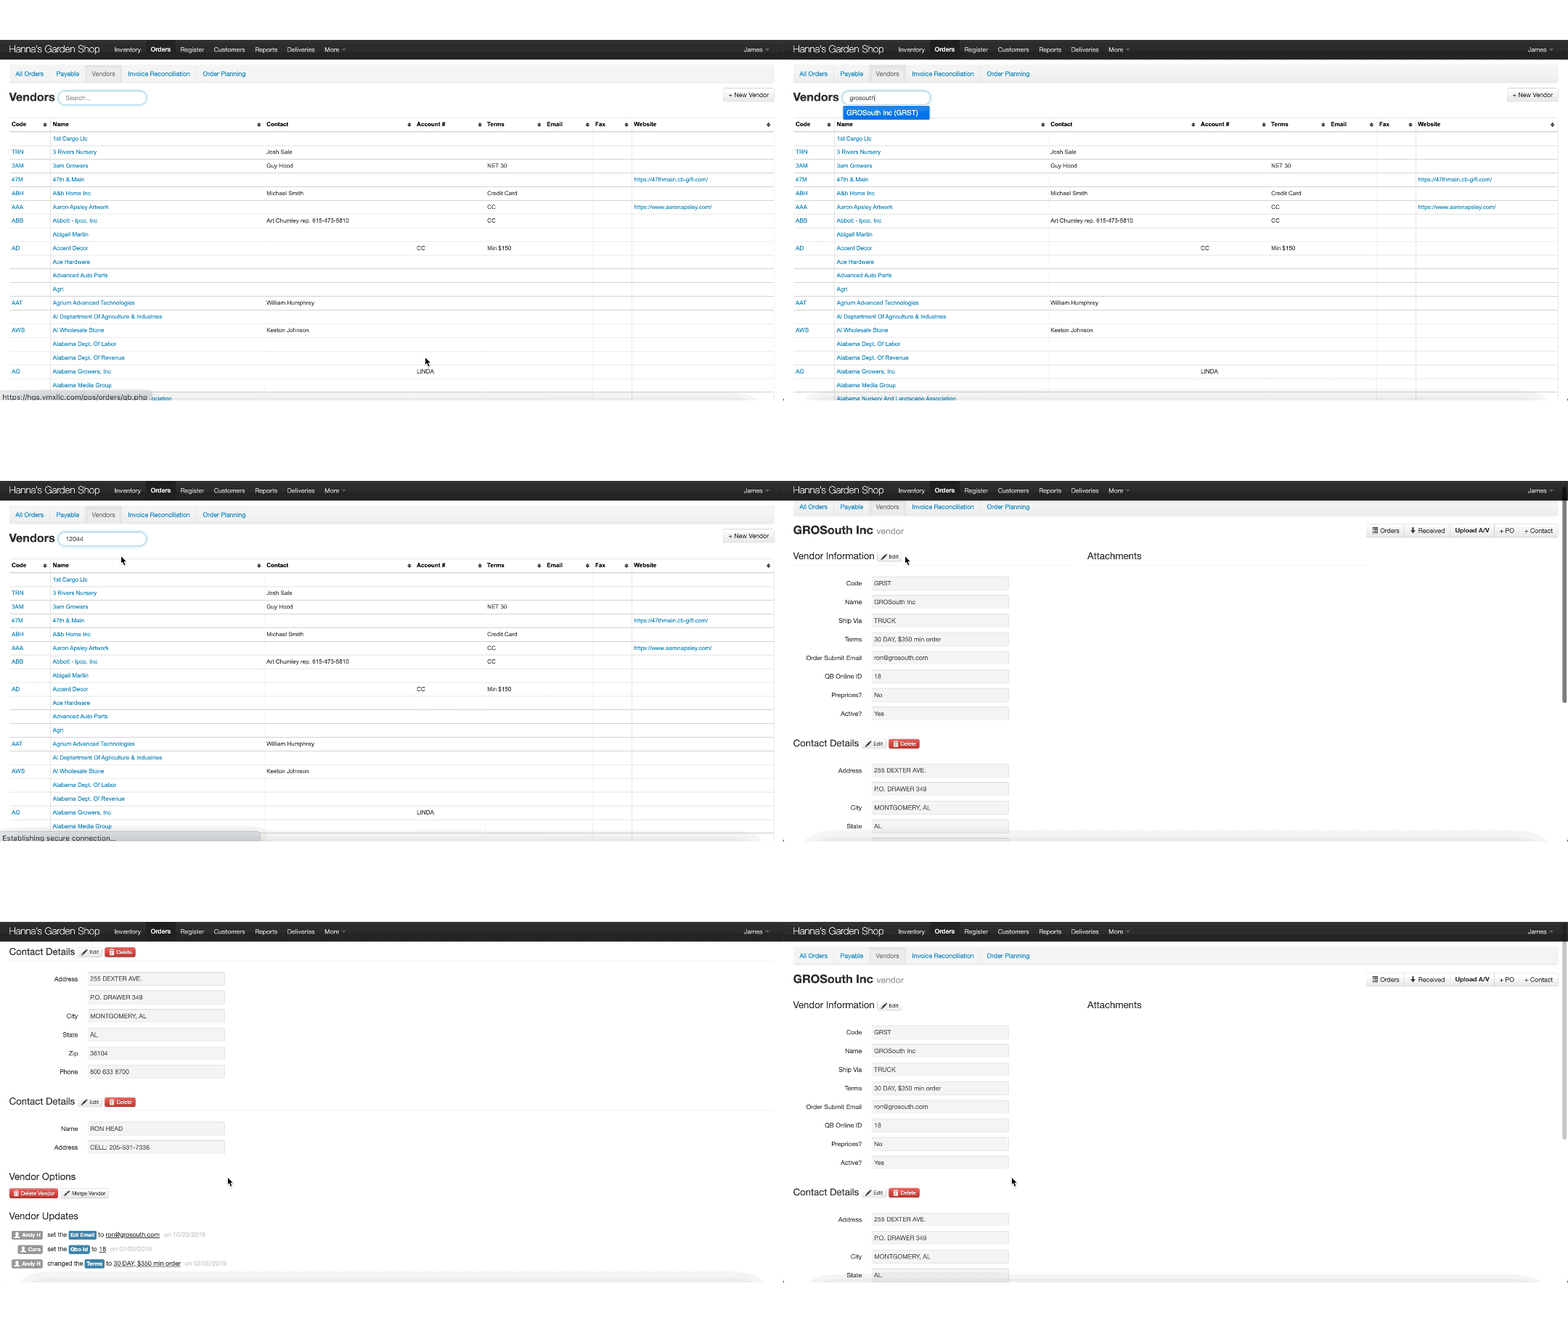
Get a quick view of different vendors and their information on the vendor page! The table of vendors includes the vendor code, name, a contact person, account number, payment terms, email address, fax number, and website information.
Use the vendor search function to find a specific vendor and go to their page:
Showing Inactive and A/P-Only Vendors
The vendor list hides two kinds of vendor by default, so the list stays to the suppliers you actually buy from. Two checkboxes at the top right of the vendor list bring them back:
Include inactive vendors shows vendors that have been retired. Inactive vendors get an INACTIVE badge in a Status column so you can tell them apart at a glance, and they also start appearing in the search box at the top of the page, so you can jump straight to one. Anyone who can see the vendor list can use this checkbox.
Show A/P-only vendors shows vendors marked as accounting-only — the power company, an insurer, the landlord. This checkbox appears only for stores using the VMX general ledger, and only for users who can see the general ledger. The A/P-Only Vendors section further down this page explains what that flag means and where it is set.
Both checkboxes are independent, so you can tick either or both, and the choice stays in the page address — bookmark the link or share it and it opens the same view. Neither checkbox changes any vendor record; they only change what the list and the search show you.
When you open the vendor list to pick a vendor for a new purchase order, both checkboxes are hidden on purpose: a retired or accounting-only vendor is not one you should be raising an order against.
Making a vendor inactive
Retiring a vendor is done on the vendor's own page, not from this list. Open the vendor, edit Vendor Information, and uncheck Is this an active vendor?, then save. The vendor keeps all of its history — past orders, items and invoices are untouched — it simply stops appearing in the vendor list and vendor pickers until someone ticks Include inactive vendors or makes it active again.
Vendor Pages
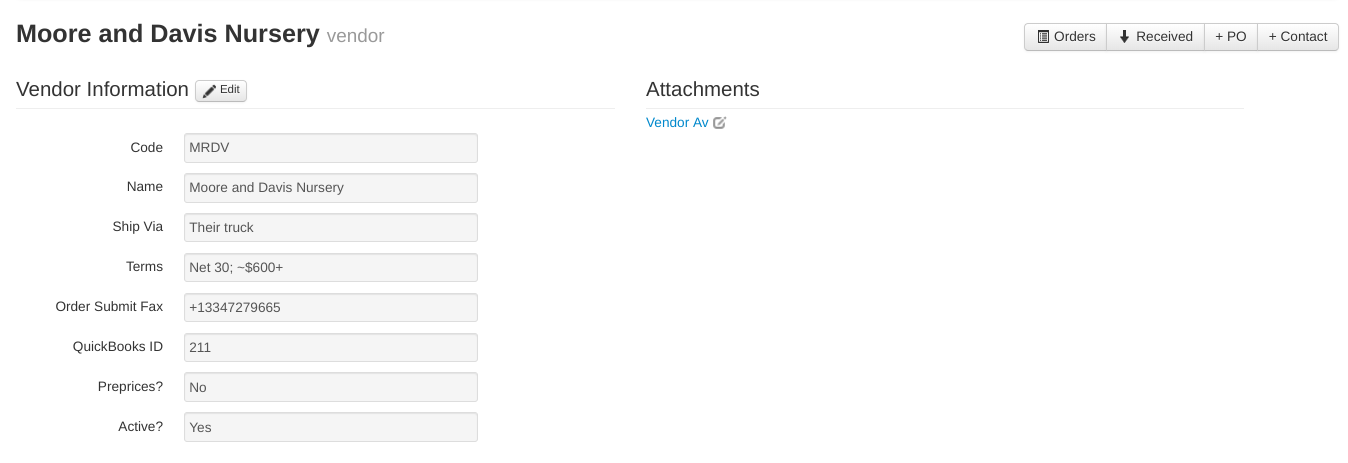
Edit the general vendor info by selecting the edit button for Vendor Information. You can also do this for any contact(s).
View any vendor attachments under the Attachments heading. Select an attachment to view it or select the edit button to go to the attachment page in the system.
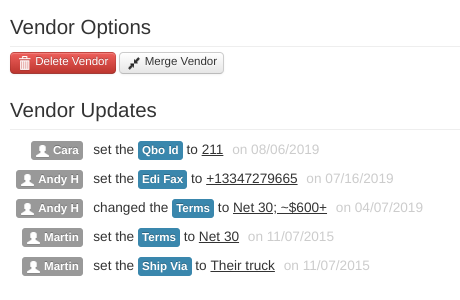
Delete the entire vendor or merge two vendors under Vendor Options. Chronologically view updates to the vendor under the Vendor Updates heading.
Vendor Links

Use the buttons at the top of each vendor page to view other vendor specific info and create new orders or vendor contacts!
A/P-Only Vendors
Some vendors only ever generate accounting entries — the power company, an insurance provider, rent — and never actually supply merchandise. These can be marked A/P only so they stop cluttering inventory and purchasing screens.
On the vendor's page, under Vendor Information, check A/P only — not a merchandise supplier; hidden from inventory & purchasing screens, then save.
Once flagged, the vendor no longer appears in:
- Item vendor pickers (Primary Vendor, part numbers, barcode vendor)
- New purchase order vendor search and the PO vendor picker
- Inventory search's Primary Vendor filter
- Tag templates' vendor field
- Reports that filter by vendor (Planning, Item Sales, Best/Worst Selling, Order Recommendations, Inventory Worksheet, and similar)
A/P-related screens are unaffected — A/P only vendors always show normally on Pay Bills, Print Checks, the general ledger, and the vendor merge picker, since those are exactly the screens this kind of vendor belongs on.
This feature is enabled per-client by VMX for stores using the VMX general ledger; contact help@vmxllc.com if you don't see the checkbox on your vendor pages.
On the vendor list page, A/P-only vendors show an A/P ONLY badge in the Type column, and a filter above the table lets you switch between All, Inventory vendors, and A/P only to narrow what's shown.
Flagging a vendor A/P-only is fully reversible — uncheck the box and save to make it visible on inventory and purchasing screens again. If the vendor is already referenced on an existing item, purchase order, or barcode, flagging it does not remove that reference; it keeps showing on that specific item, PO, or barcode even while it's hidden from vendor-picker dropdowns elsewhere.
Vendor Orders
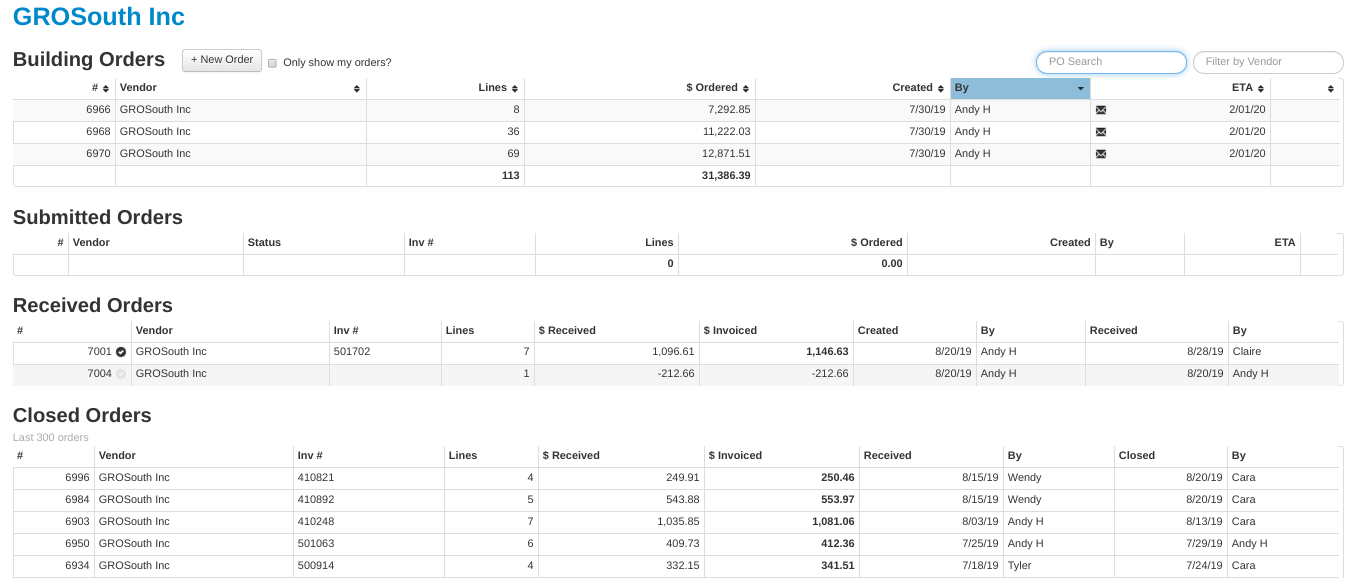
Select the orders link to see a list of all the orders for the vendor, sorted by order status:
Info
Select any of the orders to go to that order's page!
To learn more about how purchase orders are made and organized see the Orders page:
Items Received
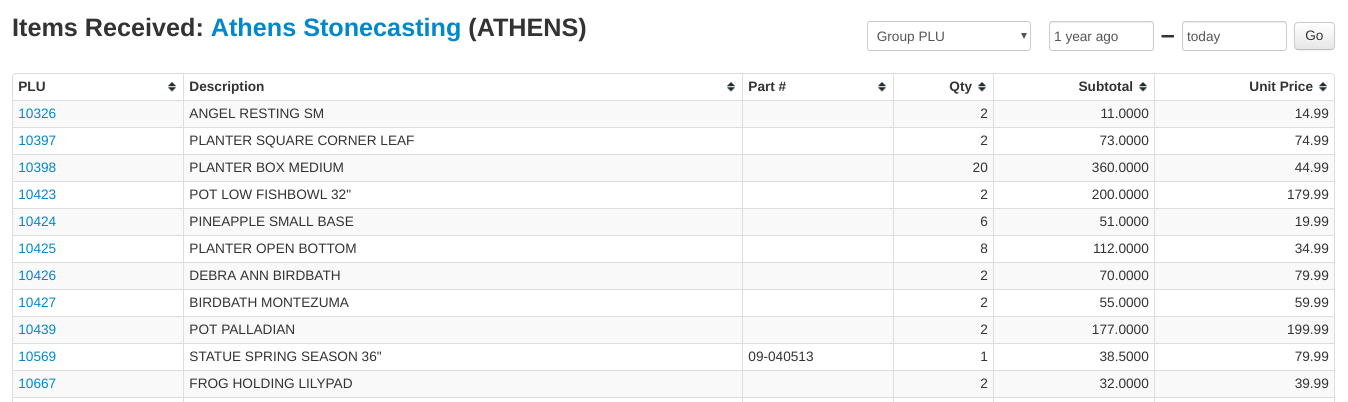
View all the items received from the vendor over a period of time.
| Group PLU | Either group the PLUs so that each item is only listed once or ungroup them and see each time a PLU was received separately |
|---|---|
| Dates | Select a start and end date for the report |
| Go | Refresh the report to reflect changes in the Group PLU and date fields |
| PLU | Item number |
| Description | Description of item on the order |
| Part # | Item's part number for the vendor |
| Qty | Quantity received over the entire time period if grouped and quantity received on each PO if ungrouped |
| Subtotal | Item subtotal cost |
| Unit Price | Retail price of the item |
Additional fields are included if the report is set to "Don't Group PLU":

| PO# | The PO that item was included on (link to PO) |
|---|---|
| Date | Date the PO was received |
| Note | Item note on the PO |
| Unit Cost | Cost of each item received |
+ PO & + Contact
Select the "+ PO" button to add a new PO for the vendor. Learn more about order pages here:
Select the "+ Contact" button to add a new contact to the vendor. Make changes to the contact information but selecting the  button and editing the popup fields.