Account Receipts
Receipts- The Receipts tab will show you all the transactions completed under the customer's account. It can be filtered by time period and summarizes the transaction history.
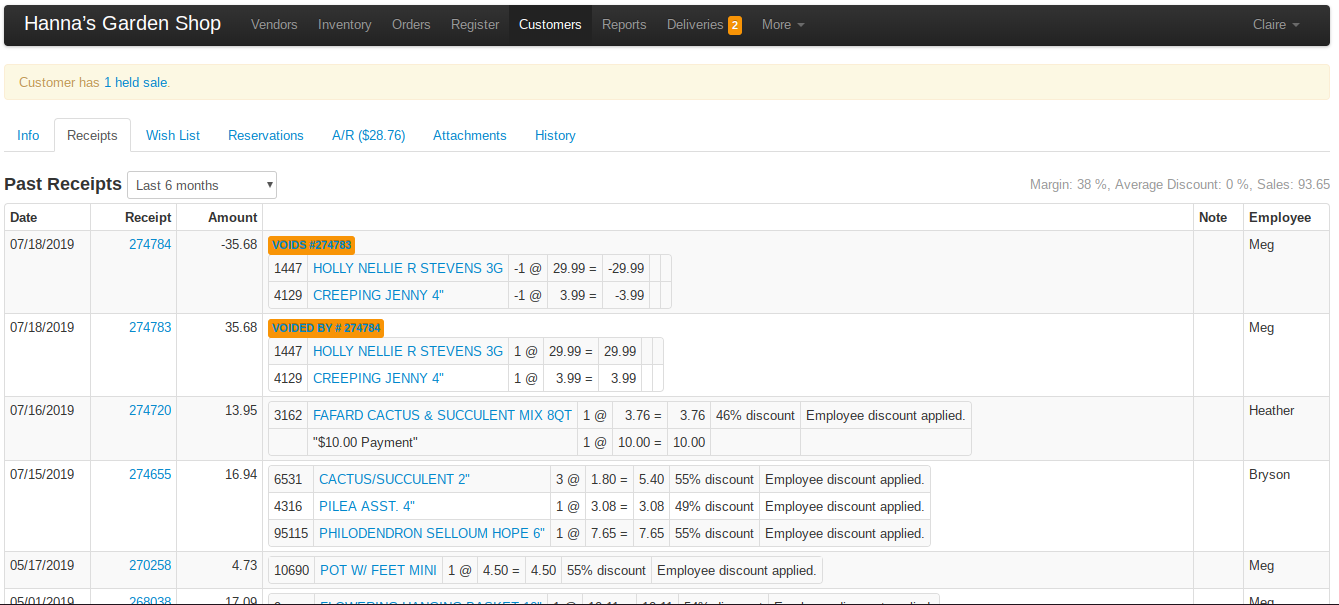
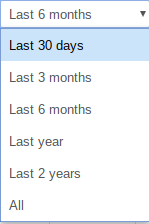
The drop down arrow on the top left of the page next to "Past Receipt" lets you toggle what time frame to see transactions. On the top right of the page is the customer's statistics which will change when you change the time frame. The statistics include the total margin percentage of the transactions shown on the page, the average discount amount, and the total of their sales.

Receipt History Table
| Date | Receipt | Amount | Items | Note | Employee |
|---|---|---|---|---|---|
| The date that the sale was tendered | The receipt number, which can be selected to load the receipt on the Register page | The total amount tendered for the sale. | The item numbers, names, quantities, prices, and discount of each line item from each receipt | Any notes added to the receipt will be listed here. | The name of the employee that tendered the sale. |
Group the Receipts tab by receipt or by line item
The Receipts tab has a second drop down, next to the time frame drop down, that controls how the transaction history is grouped:
- Group by receipt (the default) — one row per receipt, with that receipt's line items listed together inside the row. Use this when you want to see a whole sale at once.
- Group by line item — one row per item sold, with its own Date, Receipt number, PO#, item number, description, quantity, price, amount, discount, note and employee columns (plus a Store column if the company has more than one store). The same item bought on ten different receipts is ten rows.
Switching the drop down reloads the table; the time frame and the customer statistics on the right stay the same in both groupings.
Find every time a customer bought one item
Type the item name into the Description filter box under the column headings while the tab is set to Group by line item. The table narrows to just that item's lines across every receipt in the time frame.
Doing the same search while grouped by receipt keeps every receipt that contains the item, and each of those receipts still shows all of its other items — so line item grouping is the one to use when you want a single product's history for this customer.
Each column has its own filter box, so the same technique works on the item number, store, PO#, employee or note columns.
Emailing or printing receipt images
The envelope and printer icons next to the drop downs check-select whole receipts, so they only appear while the tab is set to Group by receipt. Switch back to that grouping to email or print a customer's receipt images.