Profile Page Info
What's on the Page?
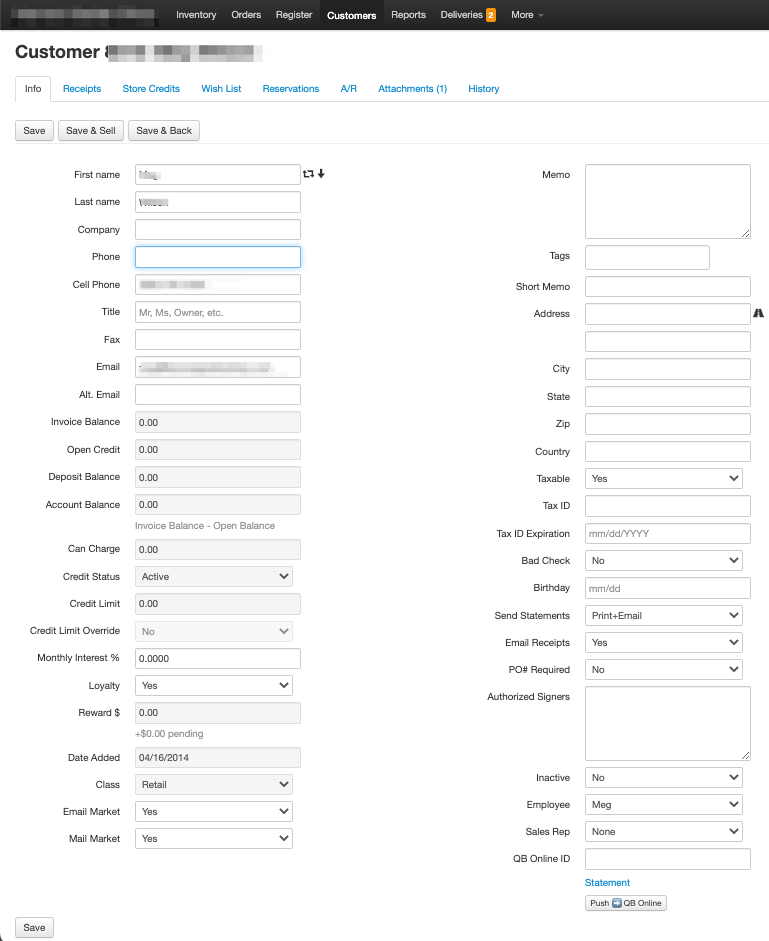
The customer profile opens on the Info tab. Fields are grouped into cards — General, A/R & Billing, Rewards, Communication, Marketing, Notes, Address, Tax, Misc, and Connections — so related settings sit together. Other tabs along the top (Receipts, Store Credits, Wish List, A/R, Office Notes, and more) cover the rest of the account.
Action Buttons
The action buttons at the top of the customer's profile page allow you to save information that you add or change and toggle to other common screens including the Register page and the Customer Search page.
Save
Select this button when you would like to update the customer's account and remain on the page.
Save & Sell
Select this button when you want to simultaneously save the new data added to the account and return to the register screen
Save & Back
Select this button when you want to simultaneously save the new data added to the account and return to the last screen you visited. This screen is usually the Register, Customer search, or Wish List summary page.
Delete
Removes the customer. The button is only available when the account has no history — a customer with sales, A/R activity, item requests, item reservations, or deliveries can't be deleted, and the button explains why when you hover over it.
Actions
The Actions dropdown holds less-common operations — currently Merge Into Another Customer (see Merging Customers below). It only appears for employees who are allowed to merge accounts.
Balance $
On the far right top of the customer's account is the current balance listed. To learn more about their balance, you can visit the A/R tab or Receipts.
Naming and Contact Information
Fill in the following fields to save the information to the customer's account. You can change these fields at any time.
- First name
- Last name
- Company
- Phone
- Cell Phone
- Title
- Alt. Email
- Fax

Select the swap icon to reverse the First and Last name fields, and select the down arrow icon to move the First and Last name into the Company field.
Memo and Address
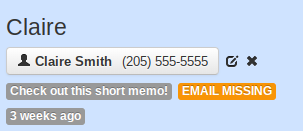
Memo- The memo field allows you to make notes on a customer's account to remind other employees of details pertaining to the customer. These notes will appear in both the account profile page and in a popup box on the register screen after the customer is selected.

- Short Memo- Short memos are smaller reminders, typically a customer's specialized discount or preference, that are listed under the account information on the register screen.
The customer's mailing information can also be found in this section of the customer's profile page and can be changed at any time.
- Address
- City
- State
- Zip
- Country
Additional Information
- Taxable- You can toggle between "Yes" and "No" to configure the register to charge the customer for tax.
- Tax ID- Add a Tax ID to keep on file for landscaping and business accounts. A Tax ID Expiration date can be recorded alongside it.
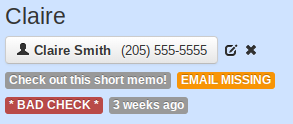
- Bad Check- Alert employees to customers with bad check history by toggling "Yes" and a message will appear on the Register page when these customers are selected.
- Birthday- add a customer's birthday allowing you to send targeted emails and keep records
- Email Market / Mail Market / Text Market- Whether the customer wants to receive email, postal mail, and text marketing. The register and marketing tools respect these choices.
- Send Statements- How this customer receives statements: Print, Email, Both, or None.
- Email Receipts- Yes, No, or Always.
- PO# Required- When set to Yes, the register requires a purchase order number on this customer's sales.
- Employee / Sales Rep- Link the account to a staff member.
- Statement- Select the View Statement link to open the customer's up-to-date statement, ready to be printed.
Balance Info
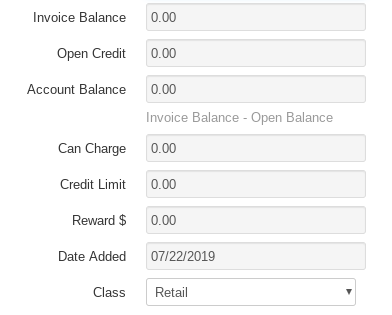
- Invoice Balance- The total of unpaid invoices charged to the customer's account
- Open Credit- Payments and credits sitting on the account that haven't been applied to invoices
- Account Balance- Invoice Balance minus everything sitting as open credit on the account (including deposits) — what the customer currently owes
- Can Charge- How much room is left on the account: the Credit Limit minus what the customer currently owes (including deposits)
- Credit Limit- The total amount of the line of credit for the customer's account
- Credit Status- Active, Hold, Charge Off, or Closed — controls whether the account can be charged at the register
- Reward $- If your business has a rewards program, this field will show the redeemable amount on the account
- Date Added- The date the customer was added to VMX POS
- Class- A dropdown of your store's customer classes (for example Retail vs. Landscaper). The available classes are configured for your store — see your admin settings.
Save- Select this button to update changes made to an account
Secure Notes
Secure notes are password-protected notes on a customer's account — only someone who knows the note's password can read it. They live on the Office Notes tab of the customer profile, which shows a count badge when notes exist.
To add one:
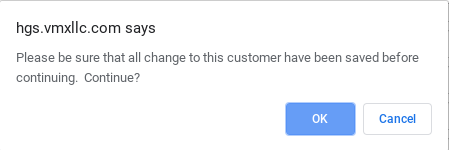
- Save any changes to the customer first — you'll be reminded to before continuing.
- On the Office Notes tab, click + New next to Secure Notes.
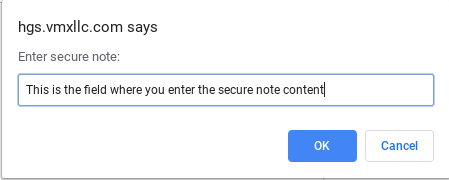
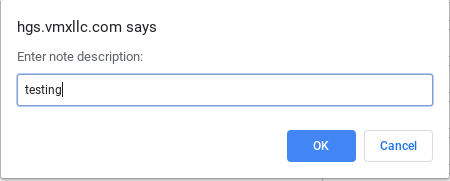
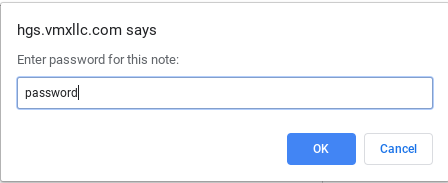
- Enter the note text, then a short description (the description is visible to everyone; the note itself is not).
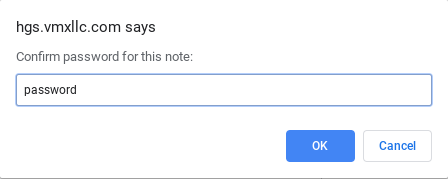
- Enter and confirm a password for the note.
To read a note, click it in the list and enter its password when prompted.
Merging Customers
Merge Into Another Customer (under the Actions dropdown at the top of the profile) merges two customer accounts into one, including their history, credit, charges, memos, and other information. Spouses with separate accounts are the most common example of customer accounts to merge.
- Open the account you want to merge away from — its data will move to the other account.
- Click Actions → Merge Into Another Customer.
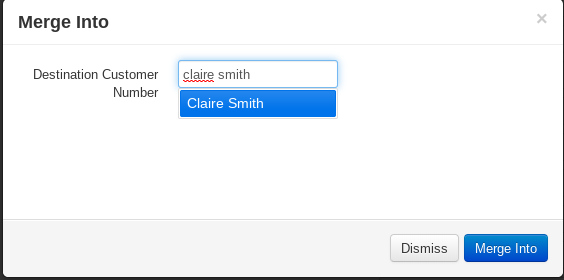
- Enter the Destination Customer Number — you can type a customer number or a name and pick from the matches.
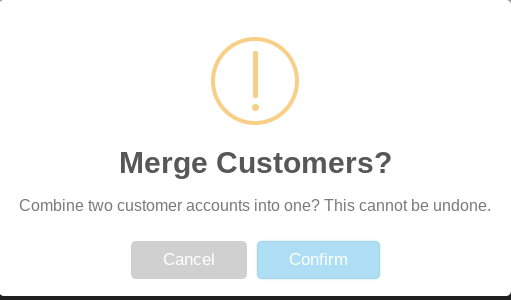
- Click Merge Into, then confirm — you'll be asked "Merge Customers? Combine two customer accounts into one? This cannot be undone."
Danger
Note that once customers are merged, they cannot be separated! You can toggle who is allowed to merge customer accounts in the Admin section of VMX.